
What you’ll learn: Best varieties, setup tips, harvest timing, and how to use these microgreens in simple meals.
Topic Clustering (internal links):
– Link to Microgreens pillar for nutrient comparisons.
– Link to Recipes section for recipes using each microgreen.
– Link to Hope & Mindful Living for gardening as mindful practice.
On-Page Structure: H1 (Title), H2 (Why grow microgreens), H2 (Top varieties), H3 for each variety, H2 (How to grow fast), H2 (Uses & recipes), Conclusion + CTA
References: Multiple recent reviews and studies on microgreens nutrient profiles and urban farming. Key sources: PubMed reviews and PMC studies. citeturn0search7turn0search11turn0search16
Why grow microgreens at home?
Microgreens are an ideal first step into urban gardening: they take little space, grow in 7–21 days, and deliver concentrated nutrition. For busy households or apartment dwellers, a single sunny shelf can supply continuous garnishes and a meaningful micronutrient boost. Recent analyses show microgreens often contain higher levels of vitamins and antioxidants than their mature counterparts, making them efficient in both kitchen and nutrition planning. citeturn0search7turn0search16
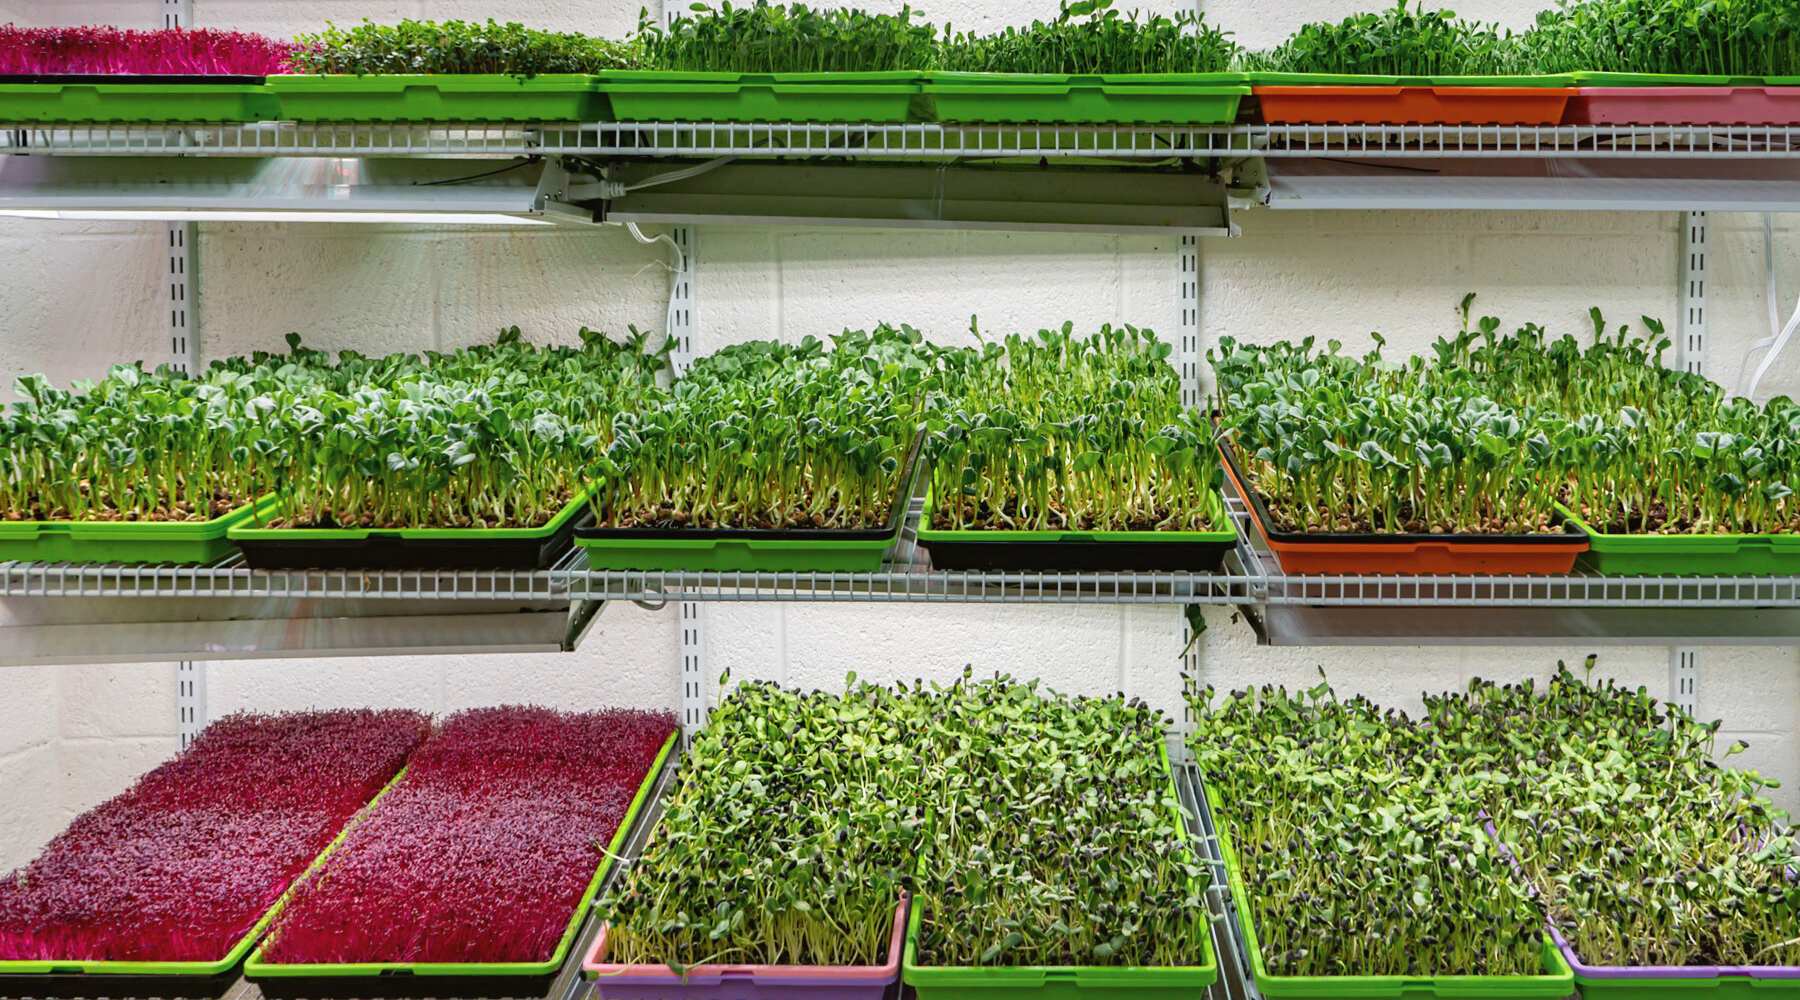
Top varieties and why they matter
1. Broccoli microgreens — Rich in sulforaphane precursors and vitamin C; useful for immune support and savory recipes. Studies report high sulforaphane metabolites from broccoli microgreens, useful for antioxidant benefits. citeturn0search12
2. Red cabbage microgreens — Notable for vitamin E and anthocyanins (powerful antioxidants), these add color and a nutrient punch to salads.
3. Pea shoots — Mild, sweet, and higher in vitamin C and protein relative to other microgreens; great in sandwiches or stir-fries.
4. Sunflower shoots — Crunchy, nutty, and substantial in texture—excellent raw on salads or as a snack.
5. Radish microgreens — Peppery flavor and quick germination; harvest in under 7–10 days, ideal for beginners.
6. Basil microgreens — Intense aroma and flavor; perfect for finishing dishes and infusing oils.
How to grow fast and reliably (practical steps)
– Light: Provide bright indirect light or an LED grow light for 10–12 hours daily. Consistent light reduces leggy stems and improves leaf color. citeturn0search11
– Medium: Use a shallow tray with coconut coir or seed-starting mix; avoid heavy garden soil indoors.
– Watering: Mist twice daily or use bottom-watering to prevent damping-off. Ensure good ventilation to limit mold.
– Density: Follow recommended seed density for each variety (overcrowding causes mold; underseeding wastes space).
– Harvest: Use scissors to snip above the soil line when the first true leaves appear—typically 7–14 days depending on variety.
Uses in the kitchen
Microgreens work as a high-impact garnish and as a core ingredient. Add broccoli or pea shoots to smoothies for nutrition, layer sunflower shoots in wraps for crunch, or use basil microgreens to finish pasta. Because they are nutrient-dense, a small amount can dramatically improve a meal’s vitamin and antioxidant profile. See related recipes in our Recipes section for exact pairings and simple meal ideas. citeturn0search7
Safety and storage
Store harvested microgreens in the refrigerator in a breathable container with paper towels to wick moisture. Consume within 5–10 days for best flavor and nutrient retention. Practice hygiene: start with high-quality seeds meant for sprouting/growing and sanitize trays between crops to reduce contamination risk. citeturn0search16
Conclusion
Growing microgreens at home is low-cost, fast, and nutrient-smart. Start with radish or sunflower for quick wins, then expand to broccoli and red cabbage for nutrient diversity. For step-by-step guides, check the Microgreens pillar page and try the 7‑Day Microgreens Starter guide in our Starter Guides section. Subscribe for weekly tips and easy recipes to use your harvest.